Introduction to cupcake toppers: what are they and why use them?
Cupcake toppers are thin, edible sheets of paper or foil that are placed on muffins and cupcakes to decorate them. They're like a personal stamp on your baked goods, letting you show what you like, who you are, or what you're celebrating. The best part is that they not only look cool, but they're edible too! The reason many people choose to use cupcake toppers is because they can give any baked goods a very personal touch. Whether it's a birthday, wedding, or a themed party, cupcake toppers let you tailor your baked goods to the event and make them unforgettable for your guests. Plus, they're super easy to use. You just place them on your muffins or cupcakes, and voilà, your baked goods look like they came straight from the pros! Not to mention, it's a lot of fun to create your own designs.
The materials and tools you need
You don't need much to make your own cupcake toppers, but the right things are crucial. First of all, of course, you need a computer or tablet with internet access to use the OnlineDesigner. Next, a high-quality color printer is important. Without it, you won't be able to turn your designs into reality. You should make sure that the printer works with edible ink cartridges, because regular ink is not suitable for consumption. To go with this, you will need edible paper, often known as sugar paper or wafer paper. This special paper is edible and perfect for your cupcake toppers. A pair of scissors or a sharp knife will help you cut out the toppers precisely after printing. Finally, to attach your toppers to the cupcakes, it would be good to have some icing or chocolate frosting ready. This acts like a glue and ensures that your toppers look secure and beautiful. So, to summarize: a computer or tablet, a color printer with edible ink cartridges, edible paper, scissors or a knife and something to stick things to like icing or chocolate glaze are all you need. With these tools and materials, you are well equipped to design your own cupcake toppers.
Choosing the perfect design for your muffin topper
Choosing the perfect design for your cupcake topper can be so easy! First, think about what occasion you're baking the cupcakes for. Is it a birthday, wedding, or christening? Your design should fit the theme. Use bright, fun colors for birthday parties, or soft, elegant designs for weddings. When it comes to design, the possibilities are endless. You could use a photo, a funny saying, or even a drawing. But remember to keep it simple. Too many details can look overwhelming on the small topper. Choose clear, simple images or fonts to make your design stand out. It's also important that the colors of your design work well with the cupcake itself. Think about what colors your cupcakes will be after baking, and adjust your design accordingly. This will not only create a delicious treat, but also a visually appealing one!
Step 1: Prepare the OnlineDesigner
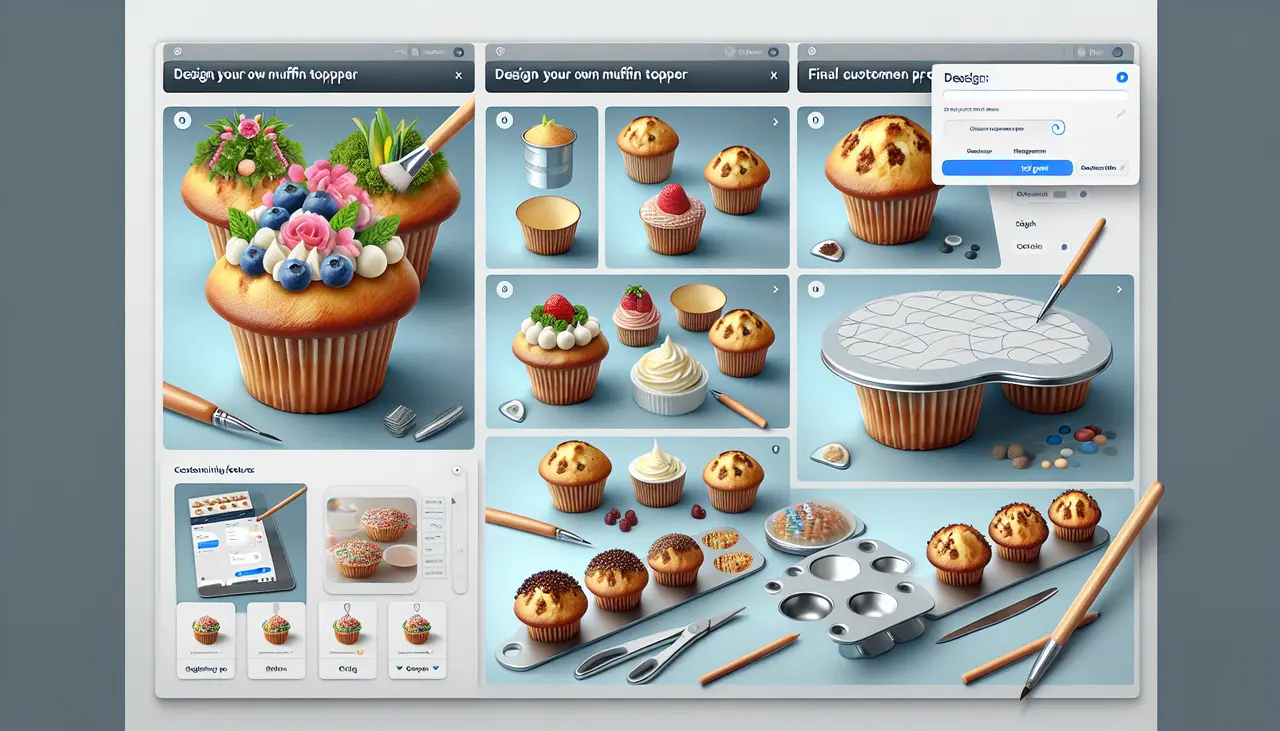
Before you get started, you need to set up the online designer. Open the provider's website and log in. If you don't have an account yet, create one. It's quick and easy. Then look for the option to start your own designs. You'll often find a button that says "Create new design" or something similar. Click on it. Now you're ready to design your cupcake topper step by step. It's important that you think about what you want to design before you start. Having a clear picture in your head makes the process much easier.
Step 2: Create your design in the OnlineDesigner
Alright, now that you've decided what kind of cupcake topper you want, it's time to get creative. In the OnlineDesigner, you start by opening a new project. Here you can choose between different templates or start from scratch. Drag images, text and shapes onto the workspace to create your design step by step. Make sure you use high-resolution images so that your topper looks sharp later. When selecting text, you can adjust the font, size and color to give your design a personal touch. Play with the shapes to create creative borders or patterns. The OnlineDesigner offers you many tools to get exactly what you have in mind. When you are happy with the design, save it and you are ready for the next step. Remember, the design should not only look good, but also suit the occasion for which you are designing the cupcake toppers.
Step 3: Adjusting the size and shape of your muffin topper
The third step is to make your cupcake topper fit exactly. Here you play with the size and shape until it fits perfectly. You can usually find these options in the menu bar at the top of the online designer. Drag the corners of the topper to make it larger or smaller. For the shape, you often have predefined options such as a circle, heart or perhaps a star. Choose what suits your occasion best. If you need a special size, enter the measurements, usually in centimeters or inches. Make sure that the image or pattern you choose remains clear even in the adjusted size and is not distorted. Sometimes a bit of trial and error is necessary, but that's exactly what makes it fun.
Step 4: Print preparation and settings
Before you can finally print your cupcake toppers, there are a few important steps you must not forget. First, you need to make sure that your design looks exactly as you imagined it. Check the colors, size and positioning of your images or text. Sometimes colors look different on the screen than on paper. This is where it helps to do a test print. Next, you should adjust the print settings. Choose the right paper size and print quality. For cupcake toppers, it is recommended to choose a higher print quality so that the images and text come out clear and sharp. Also pay attention to the correct format of your topper. Most of the time, this is a special format that is not standard. Check the settings of your printer to see if it supports this format. Finally, before you start printing, double-check that everything is set correctly. Remember, paper and ink are precious and you certainly don't want anything to go wrong.
Tips for error-free printing of your muffin toppers
Printing your own cupcake toppers can be tricky at first, but don't worry. Here are some tips to make sure everything goes smoothly. First, always check the print settings. Make sure your printer is set to "High Quality Print" to ensure the colors of your toppers are vibrant and clear. Use high-quality paper. For cupcake toppers, we recommend using edible paper specifically designed for food printing. This will ensure the best results and is safe to eat. Make sure your designs are scaled correctly. Your toppers should fit perfectly on your cupcakes, so use a template or measure to make sure the size is right before printing. After printing, let the toppers dry a bit, especially if you are printing with a water-based ink. This will prevent smudging. Finally, store the printed toppers properly. Keep them away from direct sunlight and store them in an airtight container to protect them from moisture. With these tips, you should be ready to create perfect cupcake toppers that will make your baking creations unforgettable.
Ideas and inspiration for creative muffin toppers
Cupcake toppers are a fantastic way to add a personal touch to your cupcakes. Whether it's for a birthday party, a farewell party, or just because, with the right ideas you can create little works of art. Let's start with a few sources of inspiration. For children's birthdays, toppers with cartoon characters or superheroes are an absolute hit. You can also create toppers with animals, princesses, or cars, depending on what the birthday child likes. When it comes to holidays, like Christmas or Easter, you can choose motifs like snowmen, Christmas trees, Easter bunnies, or Easter eggs. For weddings or anniversaries, you can choose more elegant designs, for example with monograms, hearts, or birds. For coffee parties or friends' get-togethers, toppers with funny sayings, floral motifs, or abstract designs can create a cheerful mood. And if you want to get really personal, you can even use photos to decorate your cupcakes. Now you know that the possibilities are endless. Let your creativity run wild!
Summary: Your next steps after printing
After your cupcake toppers are printed, it's time to put them on your cupcakes. But stop! Not so fast. There are a few simple steps you should follow to get the most out of your toppers. First, let the toppers cool completely. Patience is key here. If they're still warm, they can tear or warp. Next, if you cut the toppers yourself, make sure you use clean and sharp scissors. Uneven edges can spoil the overall look. Now comes the creative part: applying them to the cupcakes. To do this, use a small paintbrush and a little water or edible glue. Use the brush to lightly moisten the back of the topper, then carefully place it on the cupcake. Press it gently, but be careful not to damage it. Finally, give your cupcakes enough time to set. This will ensure that the toppers adhere properly and will later make your guests or family look bright.


